
Hey there, fellow décor enthusiasts! Ready to turn those bare walls into a stunning gallery? Look no further! In this step-by-step guide, we’re diving deep into the art of wall art installation. Whether you’re a seasoned decorator or a first-timer, this foolproof process will help you achieve picture-perfect walls.
1. Planning Your Canvas
Before diving into the hardware, take a moment to plan. Consider the layout and overall aesthetic you’re aiming for. Are you creating a gallery wall with a mix of frames or a sleek display of a single statement piece? Planning is the foundation of flawless wall art installation.
2. Gathering Your Tools
Now, let’s talk about the tools of the trade. Make sure you have everything you need before starting. You’ll likely require a measuring tape, level, pencil, painter’s tape, and, of course, the right hanging hardware for your wall art. Having all your tools at the ready ensures a smooth installation process.
3. Measuring Twice, Hanging Once
The age-old carpenter’s wisdom applies here, too. Measure and mark the spots where your wall art will hang. Use a level to ensure your marks are straight, especially when working with multiple pieces. Precision at this stage ensures a visually appealing and balanced final result.
4. Choosing the Right Hardware
Different wall art requires different hanging solutions. Consider the weight and size of your pieces. For heavier items, opt for sturdy anchors or wall plugs. For lighter pieces, picture hooks or adhesive strips might suffice. Selecting the appropriate hardware is crucial for guaranteeing the secure placement of your artwork.
5. Arranging Before Attaching
Before hammering or drilling, lay your pieces on the floor to see how they’ll look on the wall. This step allows you to adjust the arrangement without creating unnecessary holes. It’s like a trial run for your gallery wall, helping you find the perfect composition.
6. Securing with Confidence
Now that you’ve sorted your layout and hardware, it’s time to secure those masterpieces. Follow your markings, use the level to ensure accuracy, and confidently attach your wall art. If creating a gallery wall, start from the center and work outward for a balanced look.
7. Fine-Tuning for Perfection
Stand back and admire your handiwork! But wait, there’s more. Take a moment to fine-tune the positioning of each piece. Step back squint your eyes – does everything look balanced and visually pleasing? Make those small adjustments that turn a good installation into a great one.
8. Showcasing Your Style
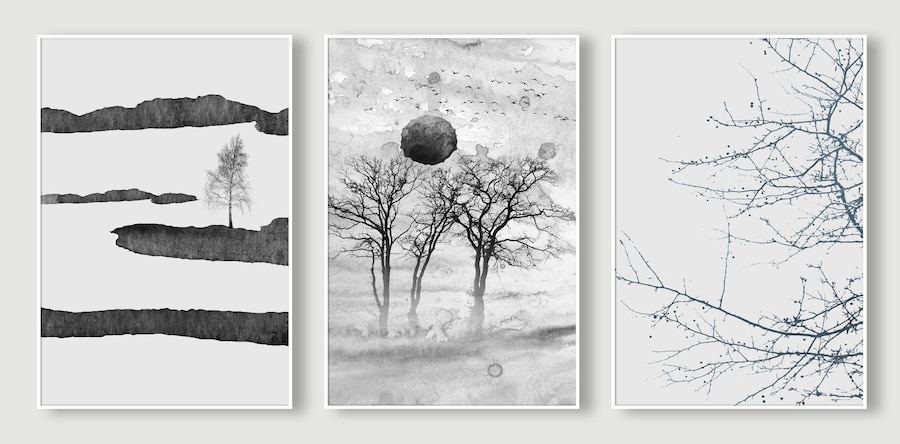
Your walls are now adorned with your unique style and personality. Whether it’s a collection of family photos, abstract art, or a mix of both, your space has been transformed into a visual masterpiece. Take a moment to unwind and appreciate the atmosphere your flawlessly decorated walls created.
Conclusion
There you have it – a comprehensive, step-by-step guide to a wall art installation that guarantees a flawless result. Whether you’re a seasoned decorator or just starting, this process ensures that your walls become a canvas for creativity. Picture-perfect walls are just a few steps away – happy decorating!
