

In interior design, distressed furniture has gained immense popularity over the years. Its vintage charm and rustic appeal have made it a favorite among homeowners and decorators. Distressing furniture involves a weathered, aged look that adds character and uniqueness to any space. If you want to transform your ordinary furniture pieces into captivating focal points, this comprehensive guide will show you how to distress furniture like a seasoned pro.
Distressing furniture is an art that requires patience, creativity, and attention to detail. The process involves intentionally damaging the furniture to mimic the wear and tear occurring over time. While it may seem counterintuitive to damage something you cherish, the result is a stunning piece that exudes history and elegance. Here’s the following step to do:
Gather Your Materials
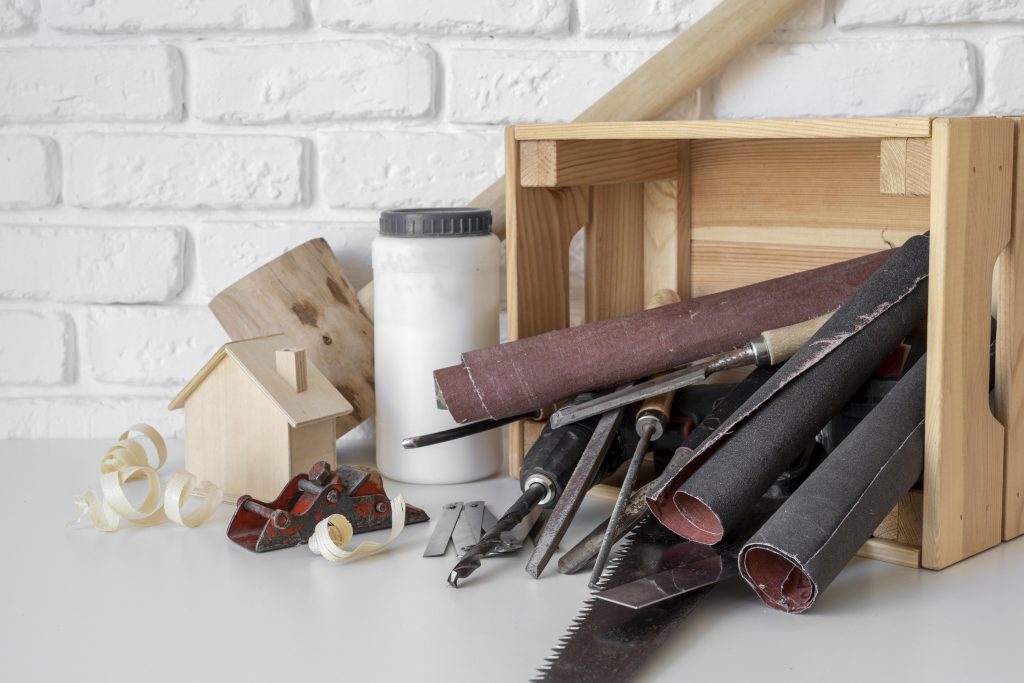
Before diving into the distressing process, gathering all the necessary materials is crucial. Here’s a list of items you’ll need to get started:
- Safety Gear: Protect yourself with safety goggles, a face mask, and gloves to shield against dust and fumes.
- Sandpaper: Different grits of sandpaper will be used to distress the furniture surface.
- Paint and Stain: Choose paint and stain colors that complement each other and the overall aesthetic you want to achieve.
- Paintbrushes and Rags: For applying paint and stain and wiping off excess for the distressed look.
- Clear Coat or Wax: A protective layer to preserve the distressed finish and add a subtle sheen.
- Wood Filler: To repair any imperfections or holes before distressing.
- Hammer and Nails: For creating dents and adding character.
- Candle of Vaseline: To create resist areas for distressed paint.
- Drop Cloths: Protect your workspace from spills and splatters.
- Cleaning Supplies: To ensure the furniture is free from dirt and grease before distressing.
Preparing Your Furniture
Before diving into the distressing process, you must prepare your furniture properly. Follow these steps for a solid foundation:
- Choose the Right Furniture Piece
Not all furniture pieces are ideal candidates for distressing. Opt for solid wood or pieces with sturdy construction. Avoid laminate or veneer furniture, as distressing may not yield the desired results.
- Clean Thoroughly
Start by cleaning the furniture surface thoroughly. Use a mild cleaner to remove dust, dirt, and any existing finish.
- Repair Imperfections
Inspect the furniture for any dents, scratches, or holes. Fill them with wood filler and sand the patched areas until smooth.
- Remove Hardware
If your furniture has hardware like knobs or handles, remove them before distressing. This will make the process easier and protect the hardware from damage.
Techniques for Vintage Beauty
Now that your furniture is ready, it’s time to dive into the distressing techniques that will bring out its vintage beauty. Here are some popular methods to consider:
Sandpaper Distressing
One of the most common and straightforward techniques is sandpaper distressing. This method uses sandpaper to gently remove the paint or stain, exposing the wood beneath. Follow these steps:
- Start with a coarse grit (around 80-100) to remove the paint or stain, then switch to finer grit (around 180-220) for a smoother finish.
- Focus on areas that naturally wear over time, like edges, corners, and raised details.
- Always sand in the same direction as the wood grain for a more authentic look.
- Adjust the pressure and duration of sanding to control the level of distress.
Distressing with Paint
Distressing with paint involves layering paint colors and removing some layers to expose the colors beneath. Follow these steps:
- Start with a base coat in a color of your choice. Let it dry completely.
- Apply a different color once the base coat is dry.
- Apply a thin layer of candle wax or Vaseline on areas where you want distress to occur.
- Paint a final layer in a contrasting color on top of the wax or Vaseline.
- Use a scraper or sandpaper to remove the final layer where the wax or Vaseline was applied, revealing the underlying colors.
Weathered Look with Stain
Staining your furniture can also create a beautiful, weathered look. Here’s how to achieve it:
- Start with a base stain color that complements the wood.
- Dip a dry brush into a darker stain and lightly brush it over the base stain.
- Use a rag to blend the colors and remove excess stains.
- Use a hammer and nails to create small dents and scratches on the furniture surface. This will give the piece an aged and weathered appearance as if it has been through years of use.
- A wire brush can add a rustic texture to the wood by pulling out the softer grains. Gently run the wire brush along the wood grain for a weathered effect.
- For a more dramatic distressed look, wrap a chain around the furniture and use heavy objects to beat and dent the surface. This method replicates the effects of natural wear and tear over time.
- Dip a dry brush into a contrasting paint color and lightly brush it over the furniture surface. This technique adds a hint of color while exposing most of the wood.
- Crackle medium creates a cracked finish that resembles aged paint. Apply the crackle medium between two layers of paint, and as it dries, it will cause cracks to form, giving the furniture an antique appearance.
- Steel wool can distress painted or stained furniture. Rub the steel wool over the surface to remove some of the finish and reveal the wood or underlying paint.
- Brew a strong cup of tea or coffee and brush it over the wood to create a natural stain. This method adds subtle discoloration and an aged patina to the furniture.
Finishing Touches
Once you have achieved the desired distressed look, it’s time to add the finishing touches. These final steps will help preserve the distressed finish and protect the furniture for years.
Apply a protective clear coat or wax.
To protect the distressed finish, apply a clear coat or wax. A clear coat will add a durable layer of protection and a slight sheen, while the wax will provide a softer, more natural-looking finish. Choose the option that suits your desired level of protection and sheen.
Reattach hardware and accessories
After distressing and finishing the furniture, reattach any hardware and accessories you removed earlier. This step will complete the piece and add to its overall charm.
Conclusion
Distressing furniture is a wonderful way to bring vintage charm and character into your home. Following the techniques and tips outlined in this guide, you can transform ordinary furniture into captivating pieces that tell their story. Remember to take your time, experiment with different distressing methods, and have fun. With a little creativity and patience, you’ll be able to achieve a beautifully distressed look that enhances the beauty and uniqueness of your furniture. So go ahead and embrace the art of distressing furniture – your home will thank you for it!
FAQs
How long does it take to distress furniture?
The time it takes to distress furniture depends on the size of the piece and the level of distress you want to achieve. On average, the process can take anywhere from a few hours to a few days.
Can I distress furniture with just paint?
Yes, you can distress furniture using only paint. The dry brush technique and crackle medium are excellent ways to achieve a distressed look with paint alone.
Can I distress furniture with a glossy finish?
Yes, you can distress furniture with a glossy finish. However, you may need to sand the surface slightly to create a better texture for the distressing to adhere.
