Hi, I’m Sarah, and I recently tackled a DIY kitchen design project that completely transformed my space. I won’t lie—it took planning, effort, and a few deep breaths, but the result was worth it. If you’re thinking about designing your kitchen, this guide will walk you through the process with practical tips, real-life experience, and none of the fluff.
Where to Start with Your DIY Kitchen Design?
When I first started, I felt overwhelmed by all the choices—cabinets, benchtops, lighting, layout… Where do you even begin? Here’s what helped me get on track:
- Decide on Your Budget—I set a clear budget before diving into design ideas. Knowing what I could afford kept me from compromising on high-end finishes.
- Assess Your Space—I measured everything (twice!) and considered how I use my kitchen daily. Do I need more bench space? Better storage? This helped me decide on my priorities.
- Find Inspiration: I browsed Pinterest, Instagram, and home improvement blogs to get a sense of the styles I loved.
- Plan the Layout—Whether you keep your current layout or change it up, mapping it out first prevents costly mistakes.

Choosing the Right Materials and Finishes
I quickly learned that materials make a huge difference in look and durability. Here’s what worked for me:
Benchtops:
- Laminate – Budget-friendly and available in a variety of designs. I found some stunning options that mimic natural stone.
- Butcher Block – Adds warmth and character but requires regular maintenance.
- Quartz or Stone—These are more expensive but incredibly durable. If you cook a lot, they could be worth the investment.
Cabinets:
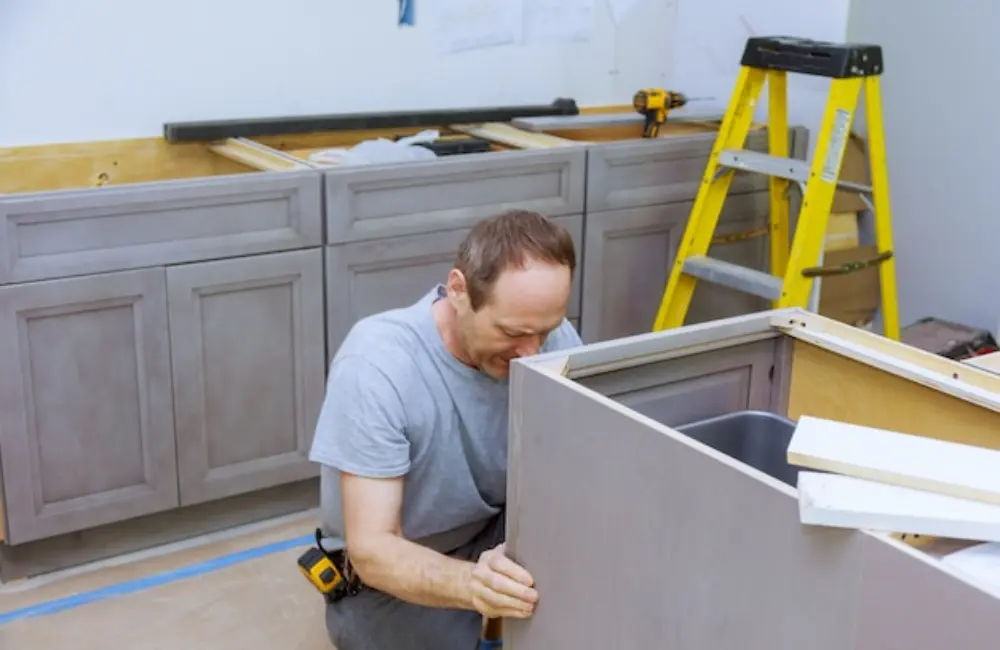
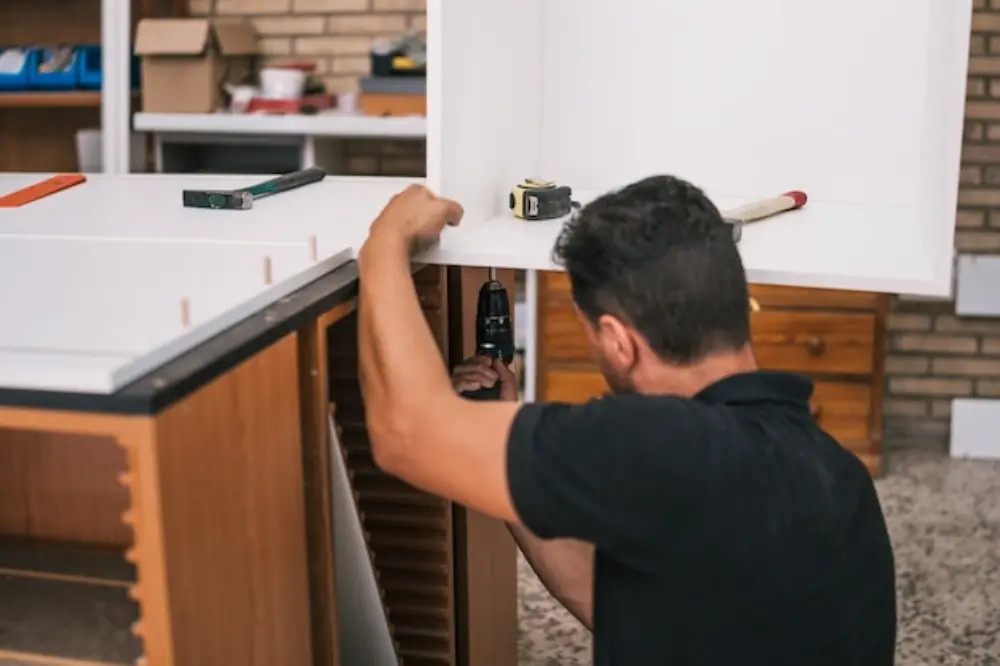
- Pre-made vs. Custom: I went with flat-pack cabinets to save money but added custom handles to give them a unique touch.
- Paint vs. Stain: A fresh coat of paint can completely transform old cabinets. I chose a warm white for a timeless feel.
Flooring:
- Vinyl Planks – Affordable, waterproof, and easy to install. Perfect for DIYers.
- Tiles – Classic and durable but trickier to lay if you’re not experienced.
Smart Storage Solutions
A well-designed kitchen isn’t just about looking good—it must also function well. I added these clever storage ideas to maximise space:
✅ Pull-out Pantry – Makes everything accessible without digging through deep shelves. ✅ Overhead Racks – Hanging pots and pans saved me a ton of cupboard space. ✅ Drawer Organisers – Keeps utensils, spices, and kitchen tools neat and easy to find. ✅ Corner Carousels – No more wasted corner cabinet space.
DIY Kitchen Design Mistakes to Avoid
I made a few missteps along the way—hopefully, you can learn from them!
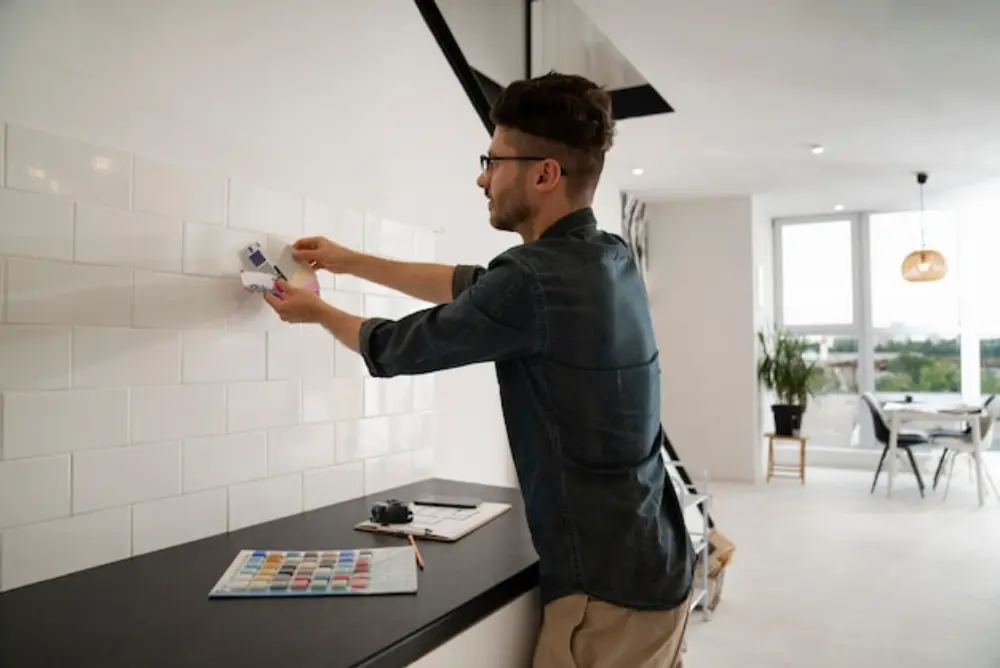
❌ Skipping a Detailed Plan – I changed my layout halfway through, which caused delays and extra costs. Plan everything first! ❌ Buying Cheap Fixtures – I tried to save money on tapware, but the quality was terrible. I had to replace it within months. ❌ Ignoring Lighting – Good lighting makes a huge difference. I added LED strips under my cabinets for better visibility. ❌ Not Testing Paint Colours – The originally chosen colour looked different under my kitchen lighting. Always test before painting the whole room.
Making It Your Own
What is the best part of DIY kitchen design? Adding your personality! Here are some fun touches I included:
???? Open Shelving – Showcasing beautiful dishes and plants gave my kitchen a lived-in feel. ???? Statement Lighting – A stylish pendant light over the island became a focal point. ???? Feature Wall – I used peel-and-stick wallpaper for an easy, removable pop of colour.

Final Thoughts
Designing my kitchen was a challenge, but it was incredibly rewarding. I saved money, created a space that truly works for me, and learned so much. If you’re considering tackling a DIY kitchen design, go for it! Take your time, research, and don’t hesitate to get creative.
Have you designed your kitchen? What worked (or didn’t work) for you? Let me know in the comments!


